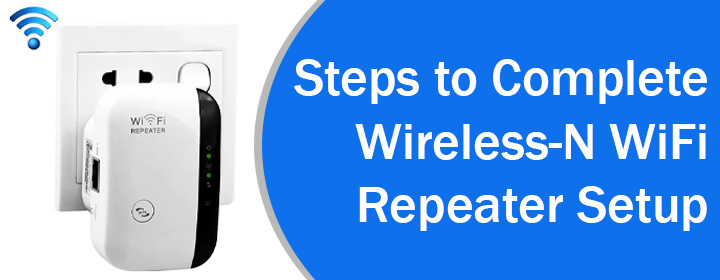
Steps to Complete Wireless-N WiFi Repeater Setup
Signal repeaters connect with your home router and expand the WiFi signals of router. With the help of the WiFi repeater you can use the internet services anywhere in your home.
One of the WiFi repeaters is Wireless-N WiFi repeater that provides easy setup process and extended network connection in your home.
Here in this blog post, you will get to know about how to initiate Wireless-N WiFi repeater setup and complete it with the help of simple steps.
Wireless-N Signal Repeater Setup
Here, we will share instructions to connect the Wireless-N repeater to the home router. Then, we will share more steps to access the interface of the repeater so that you can configure it easily.
Connect Repeater to Router
You can connect the repeater by using the Ethernet cable as well as WPS option. Let’s take a look at both methods.
Ethernet Cable
- Place the repeater near to the router.
- Connect cable to the router’s LAN port and repeater’s WAN port.
- Then just turn the repeater on to access the interface.
WPS Wirelessly
- If your router has WPS button then you can connect the devices wirelessly.
- You have to turn on the repeater first and press the WPS button on the router.
- Then, hit the WPS button on the repeater and both devices connects automatically.
Now, let’s see how you can configure the repeater and complete the Wireless-N WiFi repeater setup using below written steps.
Log in to Repeater Interface
To access the Wireless-N repeater interface, you have to connect your computer to the repeater network. Then, apply the below given steps.
- After connecting computer or laptop to the repeater, you have to open the web browser.
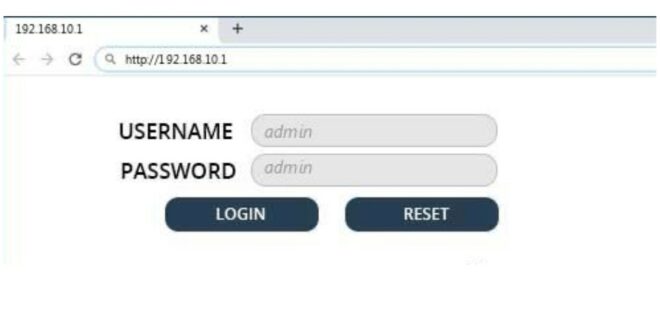
- Type the Wireless-N repeater interface login IP address 192.168.10.1 and hit the Enter button.
- You will get to the interface login page. You have to enter the admin username and password here.
- All the admin credentials will be given on the repeater label or user manual of the device.
- Just enter the credentials and reach to the interface page, where you can adjust the settings and networks.
Here, your Wireless-N WiFi repeater setup completes. With this interface page, you can easily update the firmware (device system) as well as change the admin credentials.
Let’s see how you can update the device and change its credentials.
Firmware Update Process
- At first you have to access the interface using the 192.168.10.1.
- Go to the Settings and click on the UPDATE option.
- Here, you will get the information about current firmware version of repeater.
- You can select the Search for Updates option.
- If the new version is available, then just download it and install in your device.
Add a New Password
- Log in to the interface with the help of your computer.
- Click on the Settings and select Admin tab.
- Just edit the password field and add your new password.
- Then, save the settings by clicking on APPLY button.
End Section
Here we come at the end section of the blog, where you have learned how to initiate and complete the Wireless-N WiFi repeater setup. Then at the end of the blog, we have added a few sections that explains how to update the Wireless-N repeater system and how to change admin credentials.

