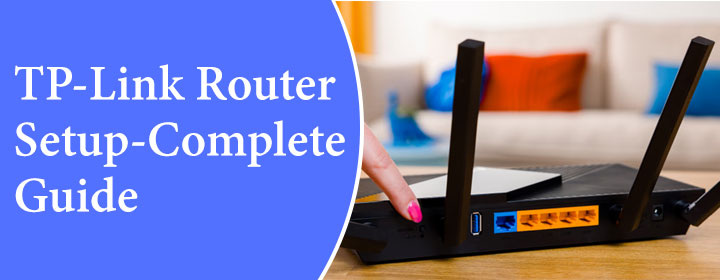
TP-Link Router Setup-Complete Guide
TP-Link router performs extremely well when you connect your devices such as computer, smartphones with the home network. If you are a new buyer of TP-Link router and struggling to set it up then this blog will surely help you to fix it.
You need to have a well-connected device, an updated web browser and URL http://tplinkwifi.net or IP address 192.168.1.1. Then follow the instructions to complete setup. Follow the below mentioned steps:
TP-Link Router Setup Manually
Power off Modem
To start with the setup process, switch off the power to modem.
Connect Router to Internet
You need to have an Ethernet cable to connect the router with the Internet. Make sure that the cable is in good shape.
- If the router has in built modems then connect one end of the cable with the Internet Service Provider and the other with the Router. Make sure that the connection is firm and the Ethernet cable is free from any wear and tear.
- If you have any separate modem then the cable with the internet port of the modem. Connect the Ethernet cable with the LAN port of the modem and WAN port of the router.
- If your PC does not have any Ethernet port then you need to have one USB to connect the Ethernet cable with the computer.
- Else you can also try a wireless system to connect by using default SSID and the password. You can extract the default password details either from the bottom of the router or the user manual.
- Now you can login and done with the TP-Link router setup.
Plug the Modem
Plug in the modem back in the power socket, which you have taken off in the beginning of the setup process.
Plug in the Router
When you will unbox the Router device, you will also find an adapter along with the package. Now connect this AC adapter to an electrical power outlet, be mindful that this outlet is close to the home WiFi router. When you will plug in the AC adapter and router is switched on. Then wait till the power LED lights on the router turn solid, it indicates the good connection between the devices.
Connect PC with the Router
For this process, you need an addition Ethernet cable. Now connect the cable with the LAN port of the router and another end with the Ethernet port of your computer.
TP-Link Router Setup via Web Browser
Open an updated web browser on your device. Either default access address like tplinkwifi.net or 192.168.1.1 in the address bar to login. Create a new password, it should be at least 8 characters composed of letters, numbers and special characters. After this, click on the quick setup link and select your time zone and click Next to continue. Further you can select the specific WAN connection type and go to Next. This way you can simply create a TP-Link ID to register your router.
As you are now familiar with the TP-link router setup process, now next move to another essential process of firmware update which is required to amend any changes in settings.
In addition, if you want to amplify your device connectivity and speed to another extend then you can choose wireless repeater mode. For this you need to create WiFi repeater login.
Conclusion
This is all about the TP-Link router setup in detail. Now you can try your hands on setting it up. If you feel stuck at some point then feel free to speak with the support team.
