TrifiBoost WiFi Extender Setup Instructions Guide
A TrifiBoost WiFi extender is an ideal choice for large homes or offices. It is a dual-band WiFi extender and support transmission speeds up to 300Mbps (2.4G) and 433Mbps (5G). You can install it in the Wireless Repeater mode, Wireless AP mode, or Router mode as at your convenience. Now, let’s find out how to complete TrifiBoost WiFi extender setup in all three modes.
How to Set Up TrifiBoost WiFi Extender Setup?
1. WiFi Repeater Mode
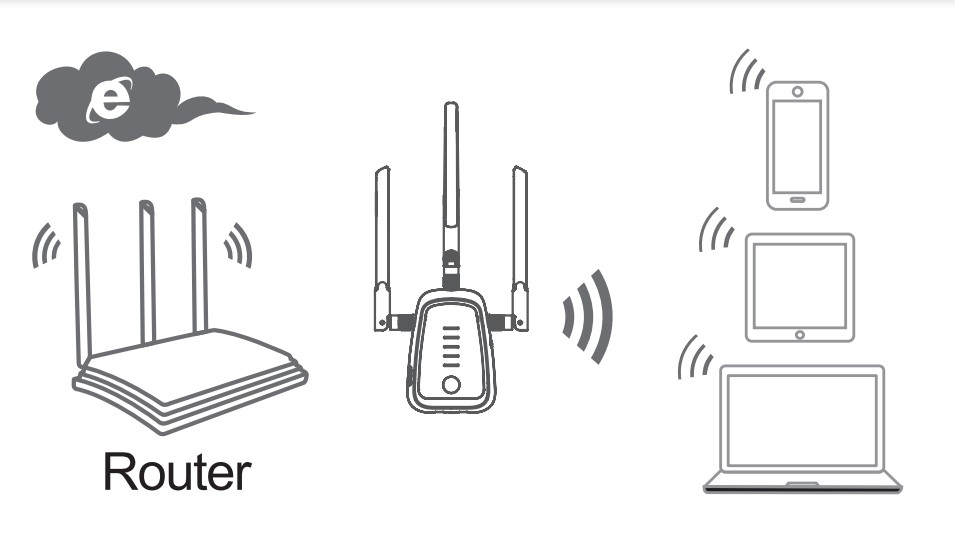
In this mode, the TrifiBoost extender copies ad reinforces the existing WiFi signals to improve the wireless coverage. This mode can be configured via the WPS button or via a web browser. To use the WPS method, you need to follow these instructions:
Configure WiFi Repeater Mode via WPS
- Ensure that the Mode selector on your TrifiBoost extender is set to the Repeater position.
- Now, plug it into a wall outlet.
- Press the WPS button for 6 seconds.
- Once done, press the wireless router’s WPS button for 2-3 seconds.
- Your extender will be connected to the router.
This is how to set up TrifiBoost extender in the Repeater mode via WPS. The WiFi password of the repeater will be same as the router. In case, your host router does not have the WPS button, you can configure the extender by accessing 192.168.10.1 on a computer connected to the extender with RJ45 cable or via WiFi. Follow the below given points for setup.
Configuring WiFi Repeater Mode via Cable/Wirelessly

- Switch on the TrifiBoost extender after placing it close to the router.
- The mode selector must be positioned at Repeater.
- Now, connect your PC to the extender’s WiFi (Trifiboost_5G or Trifiboost_2.4G) or use an RJ45 cable for connection.
- Open a web browser and type 192.168.10.1 or http://ap.setup into the address box and press Enter.
- A login page will open.
- Here, enter admin into the blank field and click Login.
- admin is the default password of your TrifiBoost extender.
- Now, select a WiFi SSID from the list and enter the WiFi password.
- Click Connect.
The extender will be set up and reboot after that. To connect your WiFi-enabled devices to the TrifiBoost network, go to the WLAN settings of your device and connect to the new SSID of TrifiBoost extender.
2. Wi-Fi AP Mode
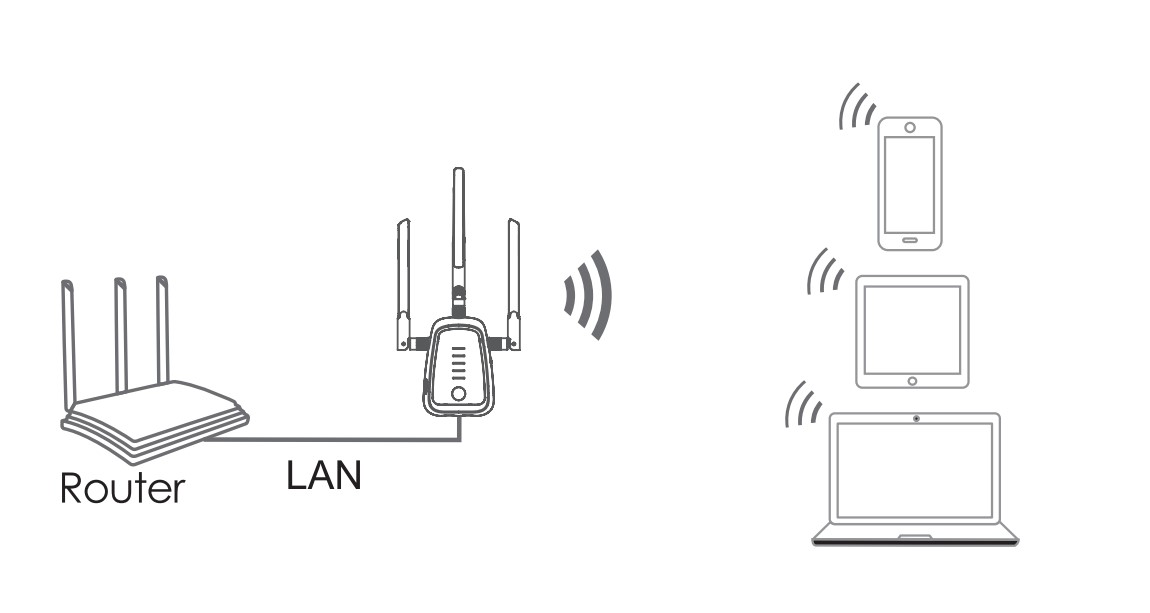
In this mode, the TrifiBoost extender is connected to a wired network through a LAN cable and then transforms the wired internet access into wireless one to provide internet on multiple devices. In this mode, the TrifiBoost WiFi extender starts working as an access point. Here are the steps to follow:

- Ensure that the mode selector is set to Access Point.
- Plug the extender into a wall outlet.
- Now, connect your PC to the network of your TrifiBoost extender.
- On a web browser, access ap.setup and complete WiFi repeater login using the default password – admin.
- Specify the time zone, create an admin password, and assign WiFi settings to the extender.
- The setup in AP mode will be completed.
3. WiFi Router Mode
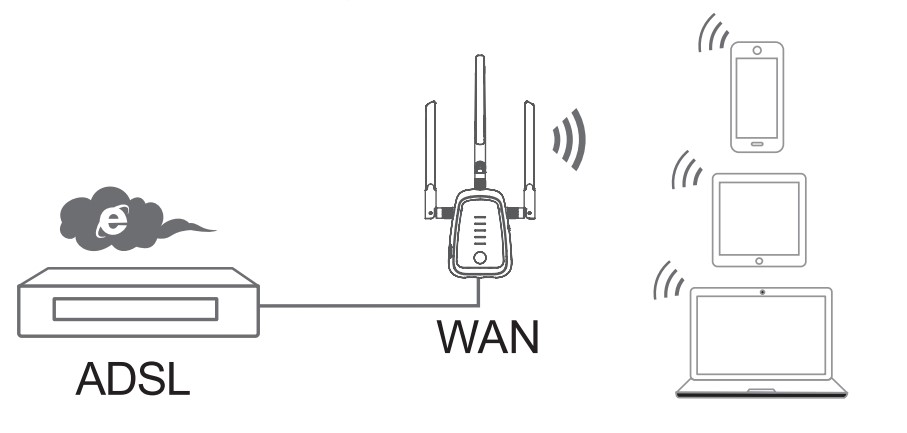
When you do not have a router and have an ADSL modem from your ISP, you can directly connect your TrifiBoost extender to modem using an Ethernet cable and set it up as a router. Given below are the steps you must follow for that:

- Set the mode selector to Router and switch on your device.
- Using an RJ45 cable, connect your TrifiBoost extender to modem.
- Now, join the WiFi network of the TrifiBoost extender on a PC or laptop.
- Access ap.setup on an updated web browser.
- Log in to your extender using the default password and follow the on-screen prompts to configure it as a router.
To Sum Up
We are now wrapping up the guide that explained 3 modes in which you can complete TrifiBoost extender setup. It is expected that after going through the information we’ve provided here, you will be able to set up the extender in the desired mode.
