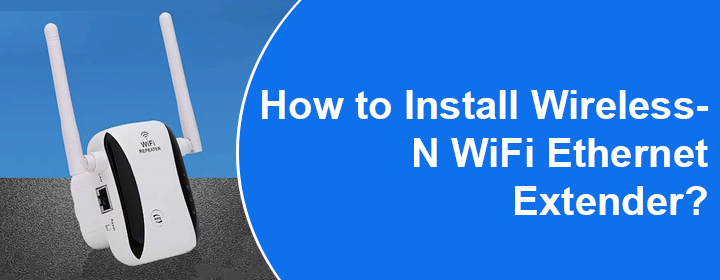
How to Install Wireless-N WiFi Ethernet Extender?
Wireless-N repeater to your home router connection is so simple and easy. By connecting the repeater to the router, you will experience speedy and reliable connection in your home.
In this article, you will get to know deep information about how to install Wireless-N WiFi Ethernet extender. We will share physical connection procedure and configuration process through your computer. So, let’s dive into Wireless-N WiFi repeater setup straight away.
Wireless-N WiFi Extender Setup
There are two ways that you can use to connect with your home modem network. The first method is through the Ethernet cable and second method is WPS option (without any cable).
Via Cable
- You have to place the Wireless-N repeater near to the router.
- Use the Ethernet cable to connect the repeater port and router LAN port.
- Then start the network by turning the Wireless-N Ethernet WiFi extender on.
Via WPS
- You have to plug the repeater in an electric wall socket to turn it on.
- Find and hit the WPS button on the devices (router and extender).
- After pressing the button, devices will connect to each other automatically.
After establishing a wired or non-wired connection, you have to access the Wireless-N repeater interface window. To access the interface for configuration, you have to connect your computer to
WiFi Ethernet Extender Configuration
- You have to select an updated web browser in your computer.
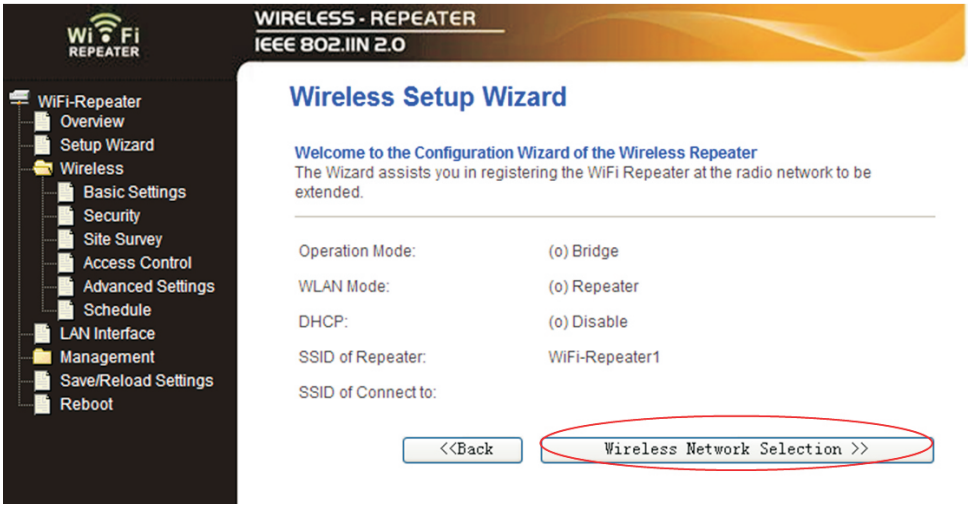
- Search the login URL myrepeater.net or IP address 192.168.10.1 by typing it in the address bar.
- The interface login page will appear on the screen, where you have to enter the username and password.
- You can find the admin credentials on the label or in the user manual of the Wireless-N repeater.
- Just enter the credentials and click on the Log In button, you will be taken to the interface page.

The setup will complete by following these above written steps. But, you should also learn about how to update the repeater and how to change admin and WiFi password.
Wireless-N Repeater Firmware Update
You can easily update your extender by accessing interface. Go into the settings and scroll down to Firmware tab and open it. Search for the newest firmware version and download it.
To install the firmware in your device, you have to paste the file into the firmware tab and click on the Install button.
Change Admin and WiFi Password
For many security reasons, you should change WiFi and admin password, which you can easily do through the interface window. Log in to the interface page, and open the Admin window in Settings. Edit the field, enter new password, and save the settings.
To change the WiFi password, you just have to open the Wireless tab in the Settings. Edit the password field, add the desired password and save it.
End Thoughts
Here, in this blog post, you have seen and learned about how to install Wireless-N WiFi Ethernet extender. The installation process includes physical setup via Ethernet cable and WPS method. After physical connection, we have shared instructions to access the interface of the Wireless-N repeater by using your computer or laptop. At last, we have also provided firmware update process and how to change the admin and password of the repeater.
